
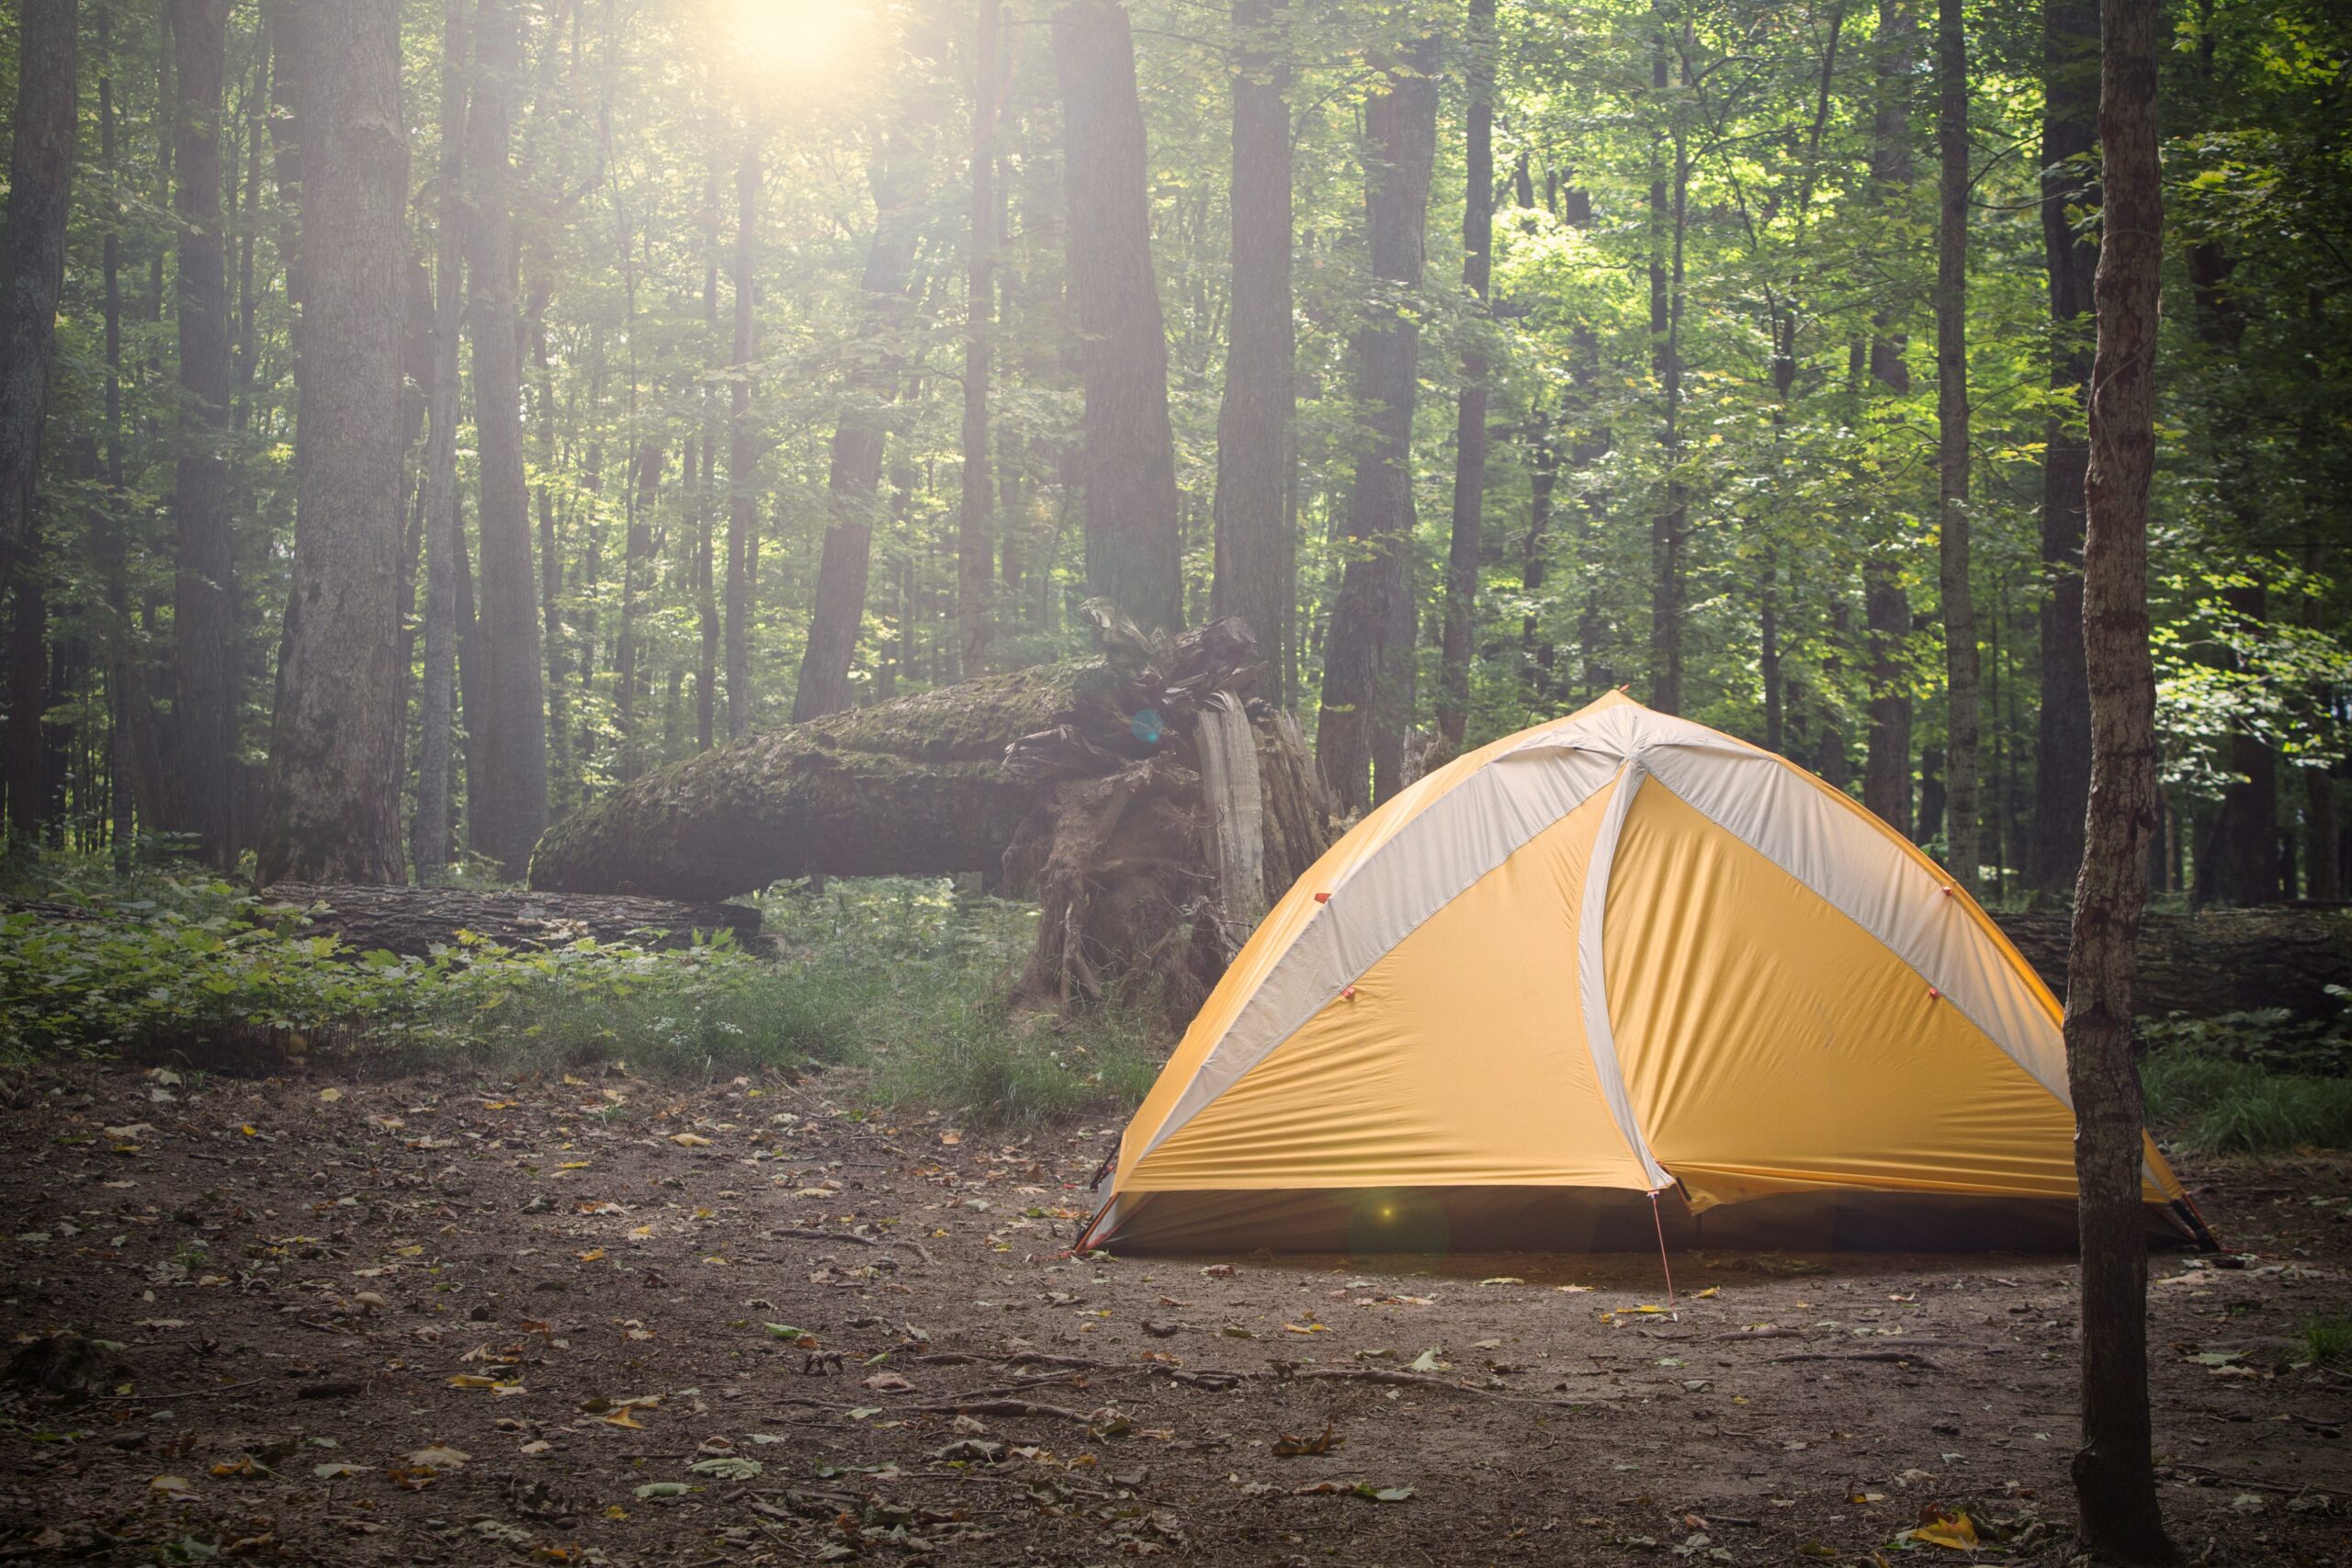
I learned how to camp on a hand-me-down tent that my uncle had been using for the most of the 1990s. It was a simple two-person dome. When I inherited it, it was more than fifteen years old, but it was still totally functional, architecturally sound, and waterproof. No mould, no stench, no leaks, and no broken poles.
He gave me the impression that the answer was clear when I asked him his secret. He answered, “I clean it after every trip.” “I also never keep it wet.” That’s all. Two guidelines. They also account for nearly all of the early tent failures I have witnessed.
High-tech outdoor gear includes tents. Although the fabrics, coatings, zippers, and poles that enable them to work are weather-resistant, they are not built to endure neglect. A tent that has been packed moist inside a bag after a trip will grow mold in a few days. Fabric under pressure loses its DWR coating faster. When exposed to UV radiation, the waterproof film deteriorates. Grit left in zippers chews through teeth. None of these problems are very obvious or significant at the moment. They compound in silence, trip after trip, until one rainy night you discover that your “waterproof” tent is completely soaking you.
Everything is covered in this guide, including how to properly clean your tent, repair lost waterproofing, take care of poles and zippers, and store your tent so that it will continue to function on its first night out years later.
Why Tent Maintenance Gets Skipped
Since setting up and taking down camp is already labor-intensive and cleaning equipment afterwards doesn’t feel like part of the fun, let’s be honest about why most people don’t maintain their tents. Instead of spending an afternoon hosing out the tent, most people want to unpack, do laundry, and sleep in a normal bed after a camping trip.
However, it’s important to realize that a high-quality three-season tent can cost anywhere from $200 to $600 or more. After a journey, it takes 30 to 45 minutes to properly clean and store. A $400 tent will need to be replaced after three or four seasons rather than lasting twelve or fifteen years if you skip those thirty minutes. The upkeep is one of the best returns on time you’ll find in outdoor sports, and it goes beyond simply protecting equipment.
Part 1: Cleaning Your Camping Tent
What You’ll Need
- Non-detergent, fragrance-free soap: Nikwax Tech Wash or Gear Aid ReviveX are purpose-made. In a pinch, a tiny amount of unscented dish soap works. Never use regular laundry detergent — it strips DWR coatings.
- Soft sponge or cloth: No abrasive scrubbers. Tent fabrics scratch easily and abrasion degrades the coating.
- Soft brush (old toothbrush): For zipper teeth and seams.
- Large tub or clean bathtub: Or a garden hose with a gentle spray setting.
- Cool or lukewarm water: Never hot. Heat damages waterproof coatings and can shrink tent fabrics.
Step 1 — Clear Out the Tent Before You Even Pack It
Sweep out the interior before you dismantle the camp. Clear the floor of all food particles, leaves, and grime. Mold like to grow on organic material that has been left inside a tent. It works well to use a little camping brush or simply your hand over the bathtub at home.
Separately shake out the rainfly. During a trip, birds, insects, pollen, and tree sap settle on fly surfaces; if they are not removed, they will become embedded in the fabric. If the fly is still attached, shake it strongly; if it has already been dislodged, shake it separately.
Expert Advice: Stow a small, soft brush in your tent bag, such as a car detailing brush. You can save a lot of cleaning time at home by doing a quick sweep at camp before packing.
Step 2 — Spot Clean Problem Areas First
Before a full wash, identify and treat any specific problem areas:
- Tree sap: Apply a tiny bit of rubbing alcohol on a cloth. To prevent spreading, work inward from the perimeter of the area. After, give it a thorough rinse.
- Bird droppings: Gently pull off after letting them dry completely. Use tent soap to clean after moistening with cool water. Wet droppings smear and penetrate deeper into the cloth, so avoid scrubbing them.
- Stains from sunscreen or insect repellent: These are regrettably frequent and can cause harm; DEET, in particular, deteriorates nylon. As soon as you can, clean with cool water and camping soap. It is quite difficult to get rid of dried DEET traces.
- To treat mold or mildew patches, combine one gallon of hot water, one cup of concentrated lemon juice, and one cup of salt. Apply to the afflicted region and leave it there.
- To treat mold or mildew patches, combine one gallon of hot water, one cup of concentrated lemon juice, and one cup of salt. Rinse after applying to the afflicted area and let it sit in the sun for a few hours. Gear Aid Revivex Odor Eliminator works well for severe mold. It could be tough to completely eradicate mold that has gotten through the coating.
⚠️ Don’t use bleach on the fabric of your tent. Bleach deteriorates nylon and polyester fibers, ruins waterproof coatings, and significantly reduces the lifespan of your tent. “Color-safe” bleach products fall within this category.
Step 3 — Hand Wash the Full Tent
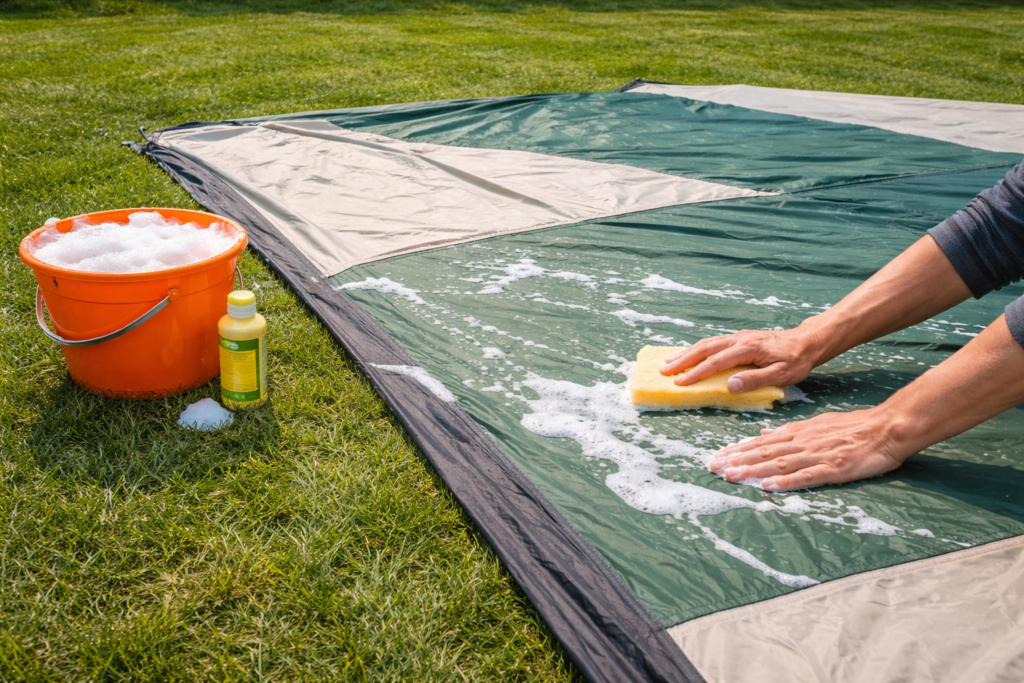
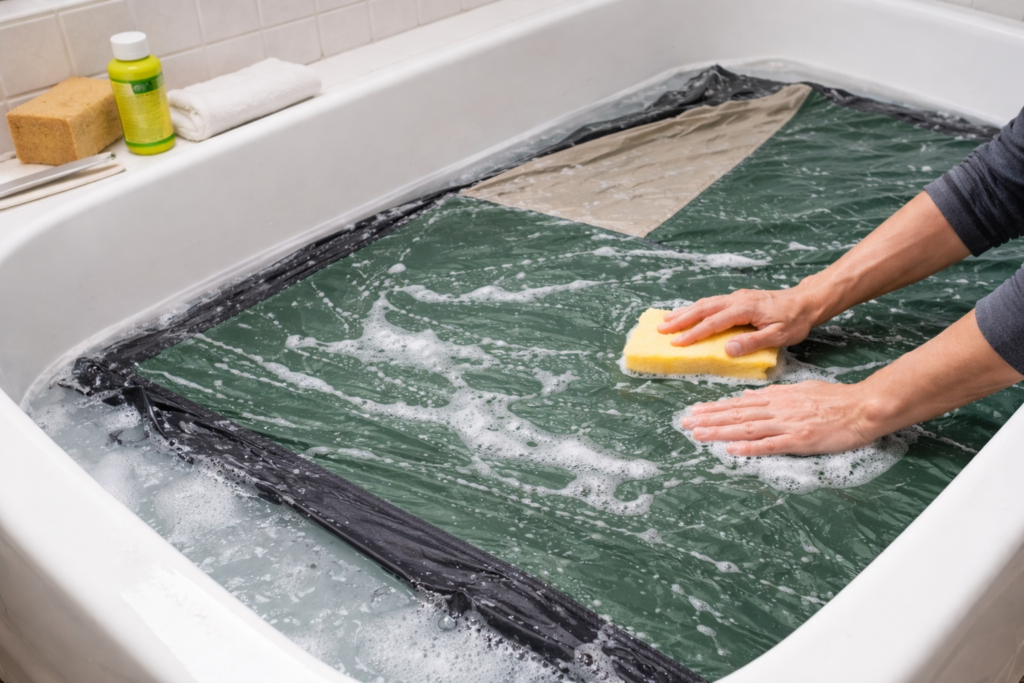
Pour cool to lukewarm water into your bathtub or a large tub. Add a tiny bit of soap designed specifically for tents (follow the directions on the product; a capful is typically sufficient for a tub of water).
If possible, immerse the footprint, rainfly, and tent body separately. Hand-agitate the fabric gently by squeezing and releasing parts, similar to a light kneading motion. Work systematically around the tent, paying particular attention to the rainfly exterior (environmental exposure), the vestibule area (foot traffic), and the floor (which comes into contact with the most dirt).
For seam, use a short stroke to carefully run a soft toothbrush along the seam tape. Avoid scrubbing too vigorously as this can cause the seam tape glue to come free.
Step 4 — Rinse Thoroughly. Then Rinse Again.
One of the most frequent reasons for DWR failure is soap residue left in the tent fabric. Instead of beading off, water sheets and soaks in due to the residue’s hydrophilic (water-attracting) surface. You want all traces of soap eliminated.
To rinse, empty the tub, add fresh, cool water, and shake the tent. Repeat after draining. To make sure all of the detergent has been removed, drape the tent over a clean surface or clothesline and give it one last washing with a gentle hose.
When the water coming off the tent is entirely clear and the cloth doesn’t feel soapy, you’ll know the rinse is complete.
💡 Pro Tip: Even on a mild cycle, never put your tent in a washing machine. The majority of home washing machines have tiny drum doors that cause high-stress fold places in the fabric, and the agitation mechanism is too forceful for coated materials.
Step 5 — Air Dry Completely Before Storing
In the entire process, this is the most crucial stage. Mold will grow on a tent that is kept with even a small amount of moisture in its fabric. Will, not might. Damp cloth in a bag that has been stored is an ideal habitat for mold spores, which can be found everywhere in the environment.
To dry, place the tent loosely in a well-ventilated, shady area. Avoid drying in direct sunlight since UV rays deteriorate DWR coatings and nylon and polyester. The best location is an interior area with sufficient ventilation, a garage, or a shaded patio.
Before packing, make sure the fly and the tent body are totally dry. To let air in, open all of the zip doors and vents. Complete drying can take four to eight hours, depending on the humidity. A fan aimed at the tent greatly accelerates this if you’re in a rush.
sense the base corners, the zipper sections and the seam tape in particular; these are the places that retain moisture the longest and are most difficult to sense with the naked eye. If in doubt, wait another hour.
⚠️ Caution: “It seems mostly dry” is insufficient. Even a tent that appears to be surface-dry might retain a lot of moisture in double-stitched sections, folded seams, and pole sleeves. Mold begins to grow in certain areas.
Part 2: Restoring Waterproofing
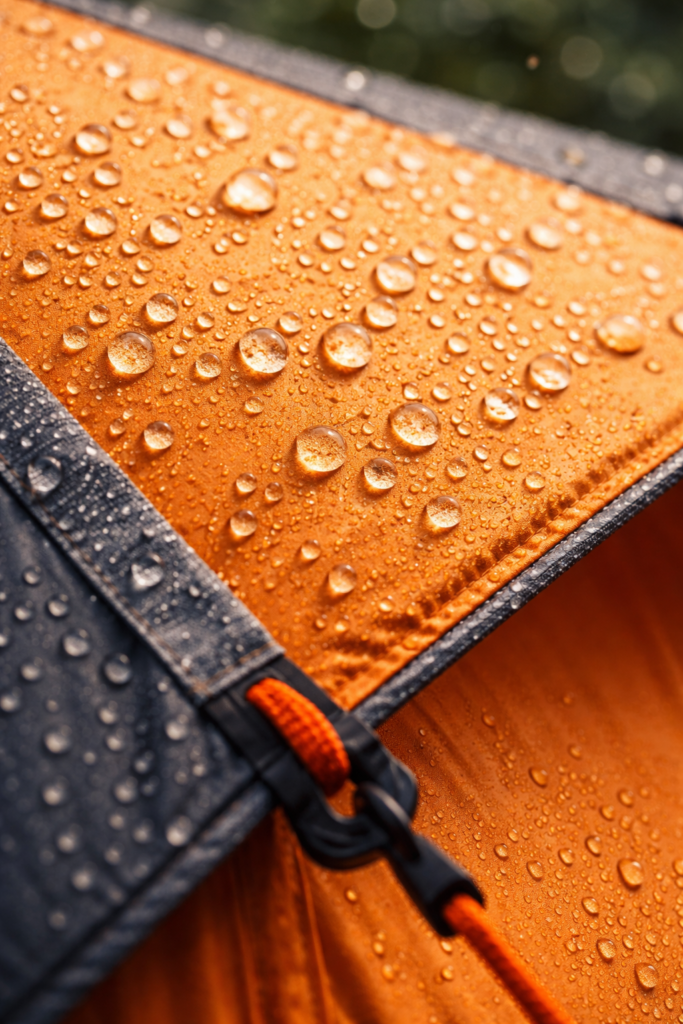
Over time, even a well-kept tent will eventually lose its Durable Water Repellent (DWR) covering. The factory-applied coating known as DWR makes water bead up and roll off the fly instead of soaking in. It usually takes 30 to 60 days of use before it begins to deteriorate noticeably. If the tent is maintained improperly or washed with powerful detergents, it will deteriorate more quickly.
When water stops beading on the rainfly and instead creates a flat film (also known as “wetting out”), your DWR is failing. In addition to making the fly feel damp and heavy even if it isn’t actually leaking, this also indicates that the fly is performing less efficiently and has lost a significant amount of its breathability.
Restoring DWR is straightforward and takes about 20 minutes:
- Clean the tent thoroughly as described above — DWR restorer doesn’t bond properly to dirty fabric.
- Apply a spray-on DWR restorer like Nikwax TX.Direct or Gear Aid Revivex Durable Water Repellent to the clean, damp fly. Spray evenly and wipe with a damp cloth for consistent coverage.
- Allow to cure according to product instructions — some require gentle heat activation with a hairdryer on a low setting, others simply need to air dry.
- Test by dripping water on the fly. Properly restored DWR will cause water to bead immediately and roll off. Flat spreading means more coats are needed.
Pro Tip: Reapply DWR at the start of every camping season as a preventive measure — it takes 20 minutes and is much easier than dealing with a leaky tent mid-trip.
Part 3: Cleaning and Caring for Tent Poles
There are two ways that tent poles might break: either they corrode at the ferrule connectors (the tiny metal casings that attach pole sections) or they snap under force. Both can be avoided in large part.
Cleaning Poles
Wipe tent poles with a dry cloth to get rid of moisture and grit after each trip. Pay close attention to the ferrule ends in particular. Grit trapped here wears down the pole with each assembly and disassembly, eventually causing connections to become loose and shaky.
Ferrules should be carefully cleaned once or twice a season using a moist cloth and a gentle brush to get rid of any rust or collected grit. Ferrules on aluminum poles can be kept moving smoothly with a very light coating of silicone spray (not WD-40, which draws dust).
Checking and Replacing Pole Shock Cord
Sectional tent poles are kept in alignment and assembled more quickly thanks to the shock cord, which is an elastic bungee. Over time, it weakens and expands; you’ll notice this when pole portions loosen up instead of clamping together.
Shock cord replacement is an easy do-it-yourself solution. Most outdoor stores sell replacement cords for a few bucks. The new rope should be threaded through the pole pieces, knotted at both ends, and tensioned such that the poles snap together without requiring force to assemble. Instead of collapsing limply, a well-tensioned pole should “snap” into alignment with some assistance.
💡 Pro Tip: Instead of starting at the end when packaging poles away, fold them from the middle part outward. This prolongs the life of the shock cord and more evenly distributed tension in it.
Part 4: Zipper Care
Tent zippers are fairly intricate parts. To properly seal, they must be water-resistant, function thousands of times, and maintain an exact tolerance. On a neglected tent, they are also among the first things to break.
Grit is the main threat to tent zippers. With each operation, tiny bits of sand, dirt, and dried muck enter the zipper teeth and cause abrasion. The zipper opens behind the slider when you close it, a classic zipper failure, when the teeth are worn down to the point where the zipper slider can no longer securely interlock them.
Cleaning Zippers
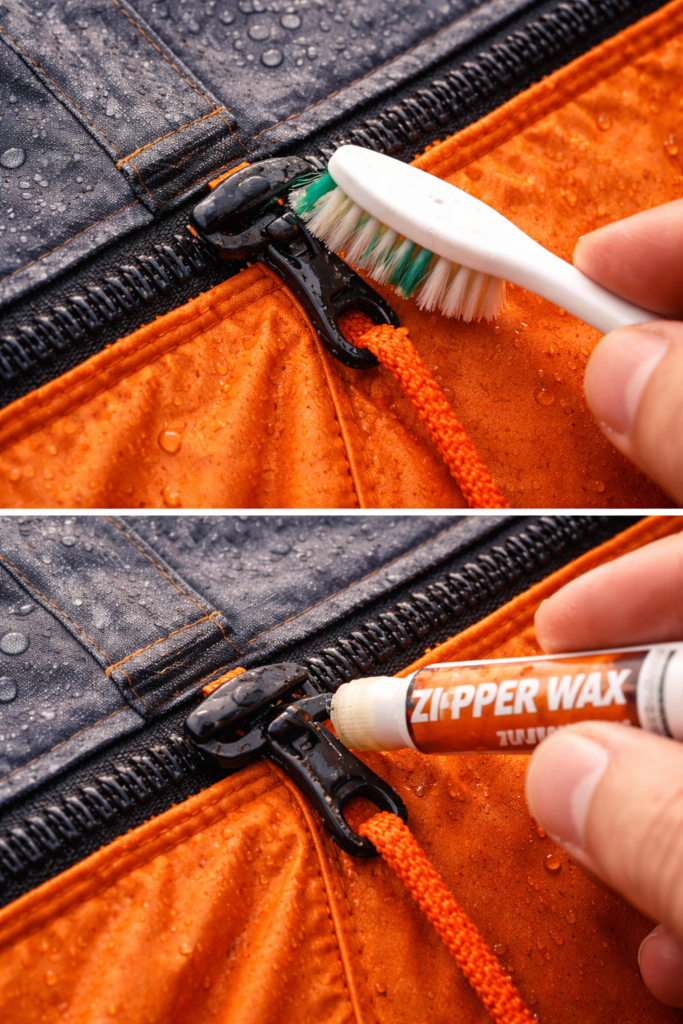
To get rid of any apparent grit, rub a moist cloth over both sides of each tent zipper at the conclusion of each journey. To remove filth from the teeth, use a soft toothbrush along the teeth rather than across them in the direction the zipper travels.
Use a zipper lubricant once or twice a season. The best option is purpose-made zipper wax, such as McNett Zipper Lubricant.
A great natural substitute is beeswax. With the zipper open, run the lubricant down the teeth, then move the slider back and forth multiple times to spread it. Steer clear of petroleum-based compounds (such as WD-40) on tent zippers as they draw dust and deteriorate nylon components.
Fixing a Zipper
The slider has probably stretched a little and is no longer holding the teeth firmly enough if your zip opens behind it when you close it. Using a pair of pliers, you can tighten the slider’s grip by gently squeezing it on both sides. The slider will crack if you apply too much effort, so do this gradually. Before repairing the zipper, it is worthwhile to attempt this fix, which works around 70% of the time.
⚠️ Avoid forcing a zip that is stuck. Before using any force, locate and remove the impediment (often fabric trapped in the teeth) if a zip is jammed. The most frequent cause of irreversible zip failure is forcing a stuck zip, which damages teeth.
Part 5: How to Store Your Tent Correctly
It has been cleaned by you. You’ve thoroughly dried it. Now, most of that labThe Stuff Sack Mythor will be undone if it is stored incorrectly. This is what proper tent storage looks like, and it’s probably not the same as what most people do.
The Stuff Sack Myth
Each tent is shipped in a stuff sack that is compressed. When you want to pack your tent as compactly as possible for transportation during a camping vacation, these sacks come in handy. However, they are actually unsuitable for long-term storage.
The DWR coating is continuously stressed when tent fabric is compressed into a tight sack for months at a time. This results in permanent crease lines in the fabric, which become weak places, and prevents moisture from escaping any wetness you missed during drying. The original stuff sack was meant for the field, not the wardrobe.
When storing your tent at home, keep it rolled up or loosely folded and put it inside a paper bag, a pillowcase, or a big mesh bag. Darkness, adequate airflow, and no compression are the objectives. These days, a lot of outdoor companies include a separate “home storage bag” with their tents, which is a big, loose mesh sack. A big mesh laundry bag from any home goods store is ideal if yours didn’t come with one.
Storage Location Matters
How Long Can You Store a Tent?
When properly stored and cleaned, a tent can last for ten to twenty years without being used. The urethane coating on the floor, which ultimately turns tacky and flakes (a condition known as “delamination”), the shock cable in the poles, and the DWR coating, which may be renewed, are the limiting factors. Each of the three can be replaced or repaired.
Inadequate storage conditions, such as moisture, heat, or compression, are nearly always the cause of tent deterioration. Your tent will outlive your enthusiasm if you take care of those three.
Seasonal Maintenance Schedule
After every trip:
- Sweep out interior, shake out rainfly
- Spot-clean any visible stains, sap, or droppings
- Air dry completely before packing away
- Wipe down poles and zipper teeth
Once per season (start of camping season):
- Full hand wash with tent-specific soap
- Inspect and reapply DWR to rainfly and fly/body seams
- Check seam tape for peeling or lifting and re-seal if needed
- Lubricate all zippers
- Check pole shock cord tension — replace if loose
- Inspect floor for delamination (tacky surface or peeling coating)
End-of-season storage:
- Full wash and complete drying
- Setup test to identify any repairs needed
- Store loosely in mesh bag in cool, dry, dark space
Frequently Asked Questions
Q: Is it possible to dry my tent more quickly by placing it in the dryer?
A: Not at all. The DWR coating, melt seam tape adhesive, shrink tent fabrics, and warp plastic components can all be harmed by even mild dryer heat. Air dry at all times. Instead of using heat to speed up the drying process, use a fan to create circulation around the tent.
Q: The inside of my tent floor has a peeling, sticky layer. What’s that?
A: The polyurethane coating within the tent floor is disintegrating; this is known as urethane delamination. It is brought on by ageing, extended storage in hot or humid conditions, or both. A product like Gear Aid Tent Sure or Seam Grip TF can be used to apply a fresh urethane coating, although severe delamination might necessitate replacing the entire floor. It’s much simpler to prevent: keep the tent dry, cool, and uncompressed.
Q: How can I tell if the seams on my tent need to be sealed again?
A: Either set up the tent in mild rain and inspect inside for drips along the seams (not the walls, just the seams) or lightly mist the interior seams with water. The seam tape has failed if water is passing through. Reseal by gently applying a seam sealer along the inside seam line, such as Gear Aid Seam Grip WP. Give it a full day to cure.
Q: Can I use a pressure washer to clean my tent?
A: Definitely not. Pressure washers can break mesh panels, drive water through seam tape, and quickly remove DWR coatings. For tent materials, even a “gentle” pressure washer setting is way too harsh. The right instrument is a soft sponge with light hand pressure.
Q: Even after washing, my tent still smells musty. How can I get rid of the odor?
A: Even after cleaning, tent odor is almost always caused by mold or mildew. Apply Gear Aid Revivex Odor Eliminator or a solution of one part white vinegar to four parts water, let it sit for half an hour, and then give it a good rinse. If the stench doesn’t go away, the mold has probably gotten through the coating. You can lessen it, but you might not be able to completely eradicate it. For this reason, dry storage is essential right away.